Tuesday, June 14, 2016

Brownie Cheesecake Recipe

Hello again!
I'm here with a recipe, not cards. I had this dessert at the party I had at my home on June 4th. The ladies all seemed to love it, and I promised the recipe. This is a rich decadent dessert, not gonna lie. 
I promise that you didn't gain an ounce looking at that photo. However if you make this and don't have at least 10 friends to help you eat it, you might be looking at some weight gain!! :)
--------------------------------------

Brownie Cheesecake
1 box of brownie mix, and the ingredients needed to make package
16 ounces cream cheese, softened
1 cup of sugar
1 tsp of vanilla
8 ounces of whipped topping
1 cup mini chocolate chips
----------------------------------------
Prepare the mix according to package instructions. I used Duncan Heinz fudge brownie mix and on the package it said for more cake like brownies, add an additional egg. I did that and it did make the brownie more cake like. So much so, that no one could believe that it was a brownie mix!
Pour the mix into a greased spring form pan. (this pan is used for presentation purposes, it your crowd isn't the fancy type I really don't think you need to make this in a spring form pan. An 8 by 8 square pan or a 9 by 9 pan would be fine, I believe. Just serve from the pan! I don't own a spring form pan, but was able to borrow one.) Bake according to package directions. ( I followed the round 9 inch pan directions because the package didn't have a spring form pan listed) Allow to cool completely. Meanwhile, beat cream cheese and sugar until smooth. (I think I would use 1/2 cup of sugar or maybe 3/4 cup rather than one full cup. This was extremely sweet. I don't think less sugar would be missed) Fold in vanilla and whipped cream, then fold in the chocolate chips. (I also think it would have been perfect with half of the whipped cream) Spread over the cooled brownie in the spring form pan. Decorate with more chocolate chips or fresh fruit or leave plain. Refrigerate for at least 4 hours before serving. Remove pan and set on a pretty serving plate.
 Enjoy! 
Let me know what you think and if you make this, how did you like it??
Until next time, take good care!

Monday, June 13, 2016

So much die cutting going on!

Hello dear friends~
In my last post I said I was going to try to post again the next week...well here I am just about 4 weeks late! I really do hope I get better at this!

In May I had a class that was going to be the last one of the year. The ladies loved the cards. 

This one was a bit of work because they had to "build" the teapot. I have a die that cuts all the pieces out, but in order for the teapot to be supported, they needed to cut it twice (once in plain card stock and once in decorative paper) and glue the floral layer on top of card stock. The teapot is popped up on dimensional foam.
It is hard to tell but there are clear "bubbles" in the center of the flowers. The flowers are cut out using a punch. In order to get the clear bubbles, the class had to scrape off the white backing and adhesive. Then the bubbles were adhered with glue dots to the centers of the flowers, which sort of magnified the centers! This was a favorite card among the gals. 
This card was stamped first in black ink, which you cannot see, and then it was painted with a brush and Stampin Up ink rather than paint. Then they had to carefully glue on the white die cut piece over the coloring, covering up the stamped image. The tag was colored with a matching marker on the edge to give the illusion of a mat. The color matches the rose and the card stock mat.
This is called a shaker card. This was the very favorite card of the day. There is a window of acetate on the biggest balloon and behind it are sequins and metallic glitter bits. A very festive card!

The last card was one that looks complicated but in truth is quite easy. This is a gate fold card. It has a "belly band" which is the white patterned piece at the bottom. To open this card, the recipient pulls off the band and then the card opens on both sides.
Quite different don't you think?? They loved it! The big trick on this one was to get the vine die cut to line up across both front folds. (easy once you know how!!) They succeeded quite well!! This card came in a very close second to the shaker card. 

There is a rumor that I am going to have another class in July. It looks like there are quite a few people who are interested. These cards would be from the samples I shared at the party I had on June 4th celebrating the new Stampin Up catalog. If you would like to join our fun group, please contact me and let me know!! I will most likely have classes scheduled for the first or second week in July. 
Until next time~ Take good care! 
ellie

Thursday, May 19, 2016

End of May??!!

How is it the end of May??!! Ads are running for Memorial Day specials...sigh.

Stampin' Up is promoting a huge deal for their new catalog which starts June 1st and today has been a crazy day because they are trying to get ALL demonstrators across the globe to host or have a total of 10,000 events during the month of June in just 24 hours!! I have a super huge party planned for June 4th. Today I ordered prizes for the day and my total was over $200.00!!! Yikes!! 

Do you need a demonstrator?? Would you like to know more about Stampin' Up?? Would you like to become a demonstrator like me and get free stuff and discounts on everything you order??!!! Please contact me!!

Today I want to show you a Graduation card I made for the card rack. It does sparkle but it has black card stock and paper so it works for everyone! I had these on the rack for about 24 hours! All 6 sold out, but I could make more if you need one!! The top part in the photo is the front, and the white part is inside the card. I really like this card!!
I have photos of the cards from the last class of the season which was held on May 9th and 10th. I will post them next week, I hope. If you are interested in taking a class or would like more information on Stampin' Up please leave me a comment here, or email me at elstamper@cox.net
Until next week~ make every day count!!

Thursday, April 28, 2016

card class number 17!

Hello everyone! I made it! This is post number 2 in one month. I have a new found admiration for all the people who have a full time job, food in the house, clean clothes to wear AND still find time to write a DAILY blog! How DO they do it??!! 

Below I have five cards from the April class. I had 24 ladies sign up to take one of the three classes. (Thank you, if you are one of them!!) This was a fun class because all of the cards have wonderful insides that match the fronts of the cards. On my own cards, I decorate the inside, the envelope and put a "hallmark" on the back of the card that goes with the theme of the card. I just always have!! 

Thanks for visiting, and if you feel like it, please comment and let me know which card is YOUR favorite!!
~el


 A super fun card, because you just couldn't mess this one up!! :)

 This one has sparkles on the front and on the dragonfly.

 A class favorite, I think because of the color combo. 

  The purple flower on the front is popped up on a dimensional foam piece. It also has a clear enamel bubble in the center of the flower.
 My personal favorite inside, because I just love the font!! (from Rubbernecker Stamps)
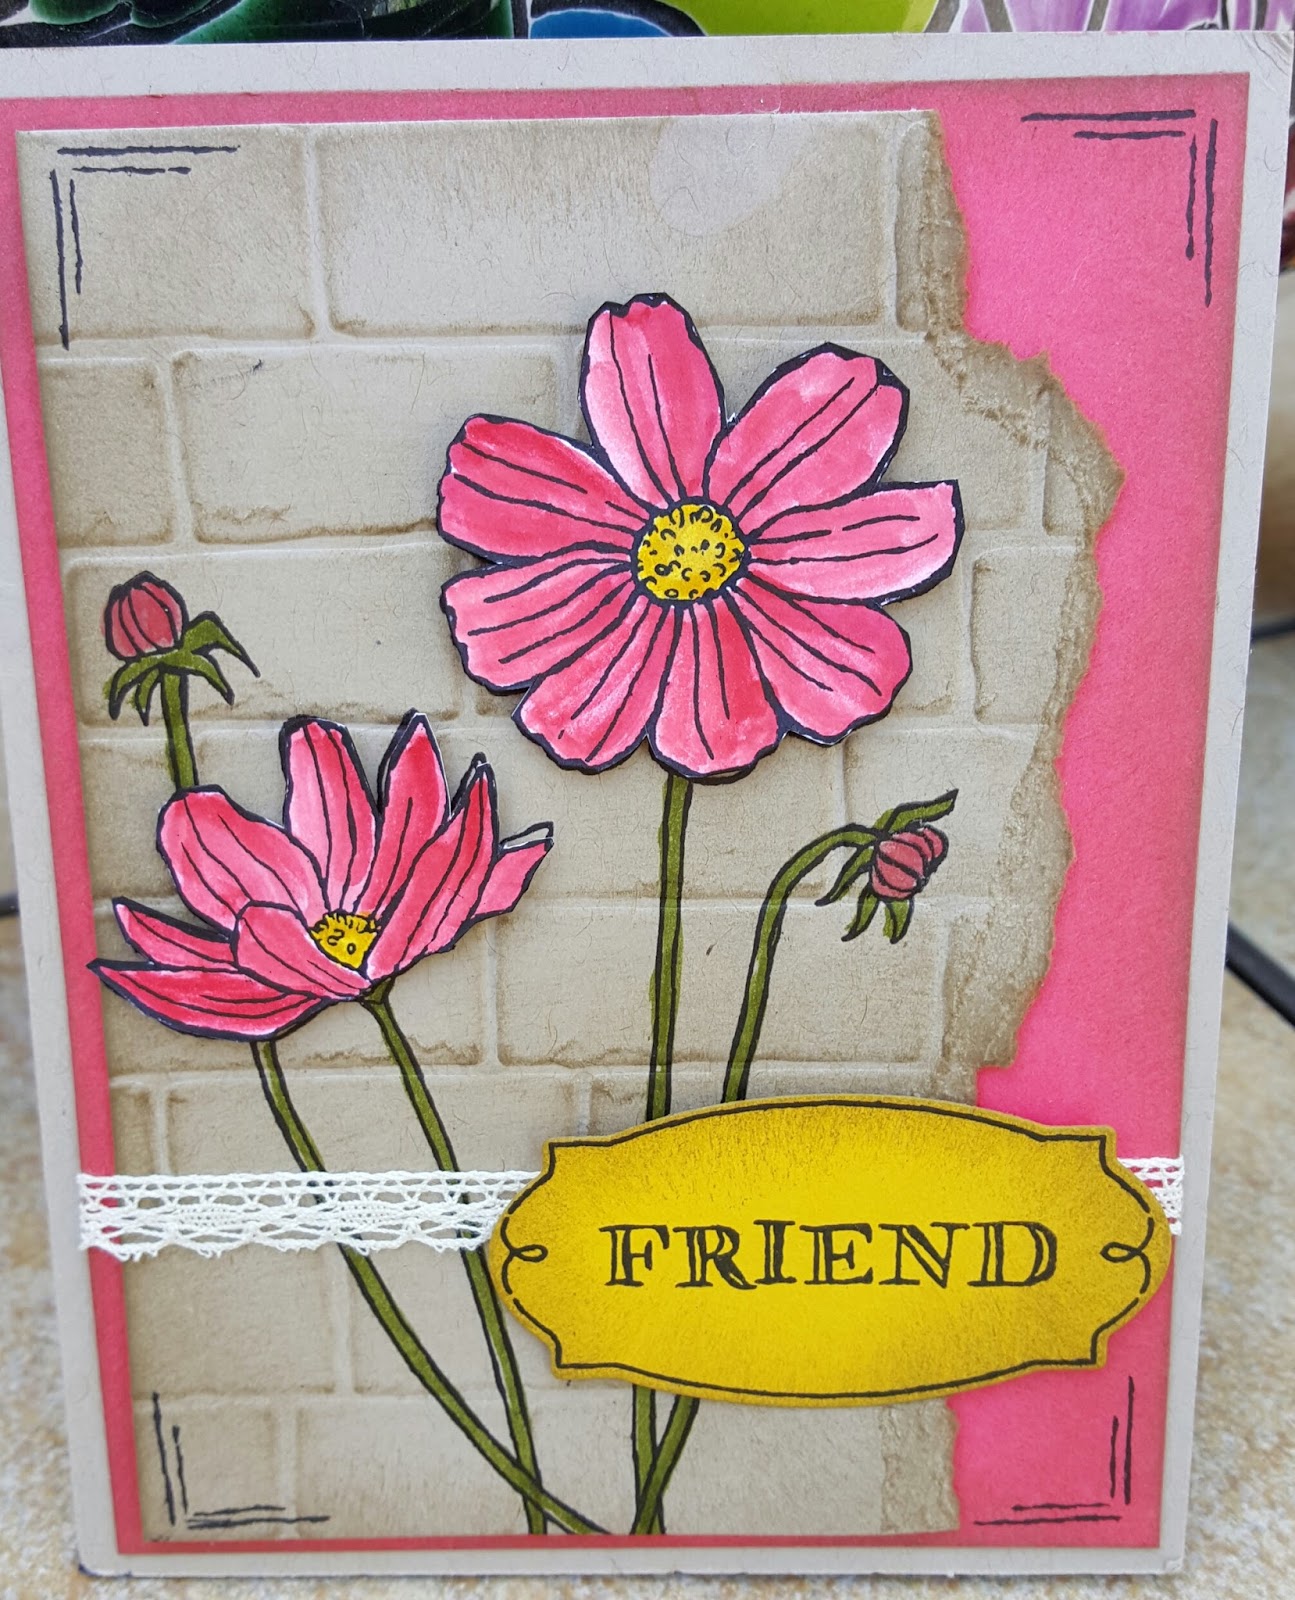
 This card seemed to take the longest, but many of the gals liked this one best!! The front flowers are fussy cut and popped up with foam for dimension. Also the friend tag is popped up. What can I say...I love dimension!!

Sunday, April 3, 2016

Hello friends~
Whoosh! There goes another month!! I'm still wondering what happened to January...sigh!

For our Easter breakfast I made applesauce muffins. They were delicious. The ingredients are in our house all the time so these may become a regular special treat!! Several folks asked for the recipe so here goes:

Applesauce Muffins

1/4 cup butter, softened
1/3 cup sugar
1 egg
1 single serve applesauce (1/2 cup)
1 cup flour
1/4 tsp salt
1/2 TBSP baking powder
2 TBSP butter, melted
1/4 cup sugar
1/2 tsp cinnamon
***********************
Oven = 350 degrees
Spray muffin pan with Pam. 
Cream butter and sugar until well combined. Fold in egg and applesauce.
Combine rest of the dry ingredients in another bowl and mix. Add this to the wet ingredients and mix well. 
Spoon batter into muffin cups. (original recipe said to use a mini muffin pan...but I could not find the one I know I had...)
Fill each 2/3 full. Bake for 11 to 13 minutes. 
Let cool for a bit. In another bowl, combine cinnamon and sugar. Also, melt butter. 
Dip muffins in melted butter, then into the sugar mixture.
Enjoy!! 
I hope to be back soon with some cards...nothing new on the shoulder...waiting for approval to see a specialist...meanwhile it keeps getting better so I am hoping that means no surgery!! 
Take good care~
ellie :)

Friday, March 18, 2016

Lawn Fawn Class

Hello!
Today I have pictures of 5 cards that are from this week's classes. There were 30 people signed up for the four classes offered. The most ever! The stamps that were used are from a company called Lawn Fawn. The overall favorite card was the Hedgehog card. (Look for that one to show up soon on the racks!)
 An obvious favorite for Arizona!
 Everyone loved painting this little guy. And adding his racing stripes on the inside!
 Some people objected to cutting out and gluing the "soup", but I do not eat striped soup!! :)
 Hands down favorite!! So adorable...they were stamping hedgehogs on everything!! 
The inside verse I did on the computer, but we all agreed that this would be good for a new baby card.

We have had a busy few weeks. Ed and I took the train to Chicago for a wedding. On the way home the train hit a person who had decided to end their life. So sad. We were delayed over 3 hours. The train that derailed early this week was the same train. We were very glad that we weren't on that train. 

Just prior to our trip, I fell and landed on my right shoulder. Good thing I'm left handed! I also hit my head and caused a knot. I had an MRI done on Wednesday of my shoulder and I should find out today what damage I did. It has been getting better slowly, but the Doctor felt that an MRI would be a good idea. I need to heal because I have nearly empty racks that need cards!! 

Thank you for following me. If you would leave a comment, I would really appreciate it! 
Until next time~
el

Tuesday, March 1, 2016

The Arts and Crafts fair was a huge success for me! Thanks to all who stopped by. It seems I'm always in a rush, and today is no exception! So here are some photos from the craft fair including my set up and some of the new cards. Thanks for looking and have a great day!
Sympathy card


Sympathy card

Pet Sympathy card

Sympathy Card

Cuppa Candy- fun gift idea!
These had several different sayings-did quite well!

My favorite anniversary card ever!
New Baby card
Magnetic book marks- holds your page as well as the line you last read! Sold out of these!!

Quick photo of early set up- I really must remember to iron the banner!

I have 2 card racks-one on each side of the table.